A commit can be signed locally before pushing to remote to ensure its authenticity. Why do we need that? Doesn’t the commit itself contain the author’s name and email? Well it turns out that it's possible to change the author's name and email of a commit.
A signed commit, on the other hand, can ensure that the commit was originally made by the author who signed it using an SSH, or GPG, or S/MIME key. S/MIME key is more popular within the context of a large organization. SSH and GPG are simpler approaches that individuals can consider. The main difference between SSH and GPG signed commits is that a GPG key can expire, or be revoked, which results in the invalidation of the previously signed commits.
In this tutorial, we are gonna use an SSH key to sign our commits, and allow Github to verify it. The tutorial assumes that you’re using a Mac, but even if you’re using a Windows or Linux machine, most of the guide should be very similar.
Creating an SSH key pair
Firstly, open a new terminal, and enter the following command, replacing your_email@example.com with your actual email.
$ ssh-keygen -t ed25519 "your_email@example.com"
You are then prompted to enter the location of the key pair (default location is ~/.ssh/), and to optionally provide a passphrase.
Note that in some system that does not support ed25519 algorithm, you can enter the following command instead.
$ ssh-keygen -t rsa -b 4096 -C "your_email@example.com"
we’re gonna assume that your SSH private key is located at ~/.ssh/id_ed25519 and your SSH public key is located at ~/.ssh/id_ed25519.pub.
Adding SSH key to SSH agent
You need to start the SSH agent in the background first.
$ eval "$(ssh-agent -s)"
Then you have to modify ~/.ssh/config (if this file does not exsit, go ahead and create it!) with the following content.
Host *
  AddKeysToAgent yes
  UseKeychain yes
  IdentityFile ~/.ssh/id_ed25519
Note that if you decide not use passphrase, then you must remove the line UseKeychain yes .
The next thing to do is to add your private key to the SSH agent.
$ ssh-add --apple-use-keychain ~/.ssh/id_ed25519
You can verify whether your key is added to the SSH agent by the following command.
$ ssh-add -L
Adding SSH signing key to your git command
You have to update git config to let it know you want to use SSH key to sign your commit and tag.
$ git config --global gpg.format ssh
Then copy your SSH public key content to your clipboard.
$ pbcopy < ~/.ssh/id_ed25519.pub
And then update git user.signingkey config, remember to replace the value in quote with your actual copied data from clipboard.
$ git config --global user.signingkey 'ssh-ed25519 AAAAC3(...) your_email@example.com'
Adding SSH signing key to Github
Copy your SSH public key to clipboard if you haven’t.
$ pbcopy < ~/.ssh/id_ed25519.pub
Make sure you’re logged in Github, and then access the keys settings page. Click on button New SSH key, you will be greeted with a form like the following image.
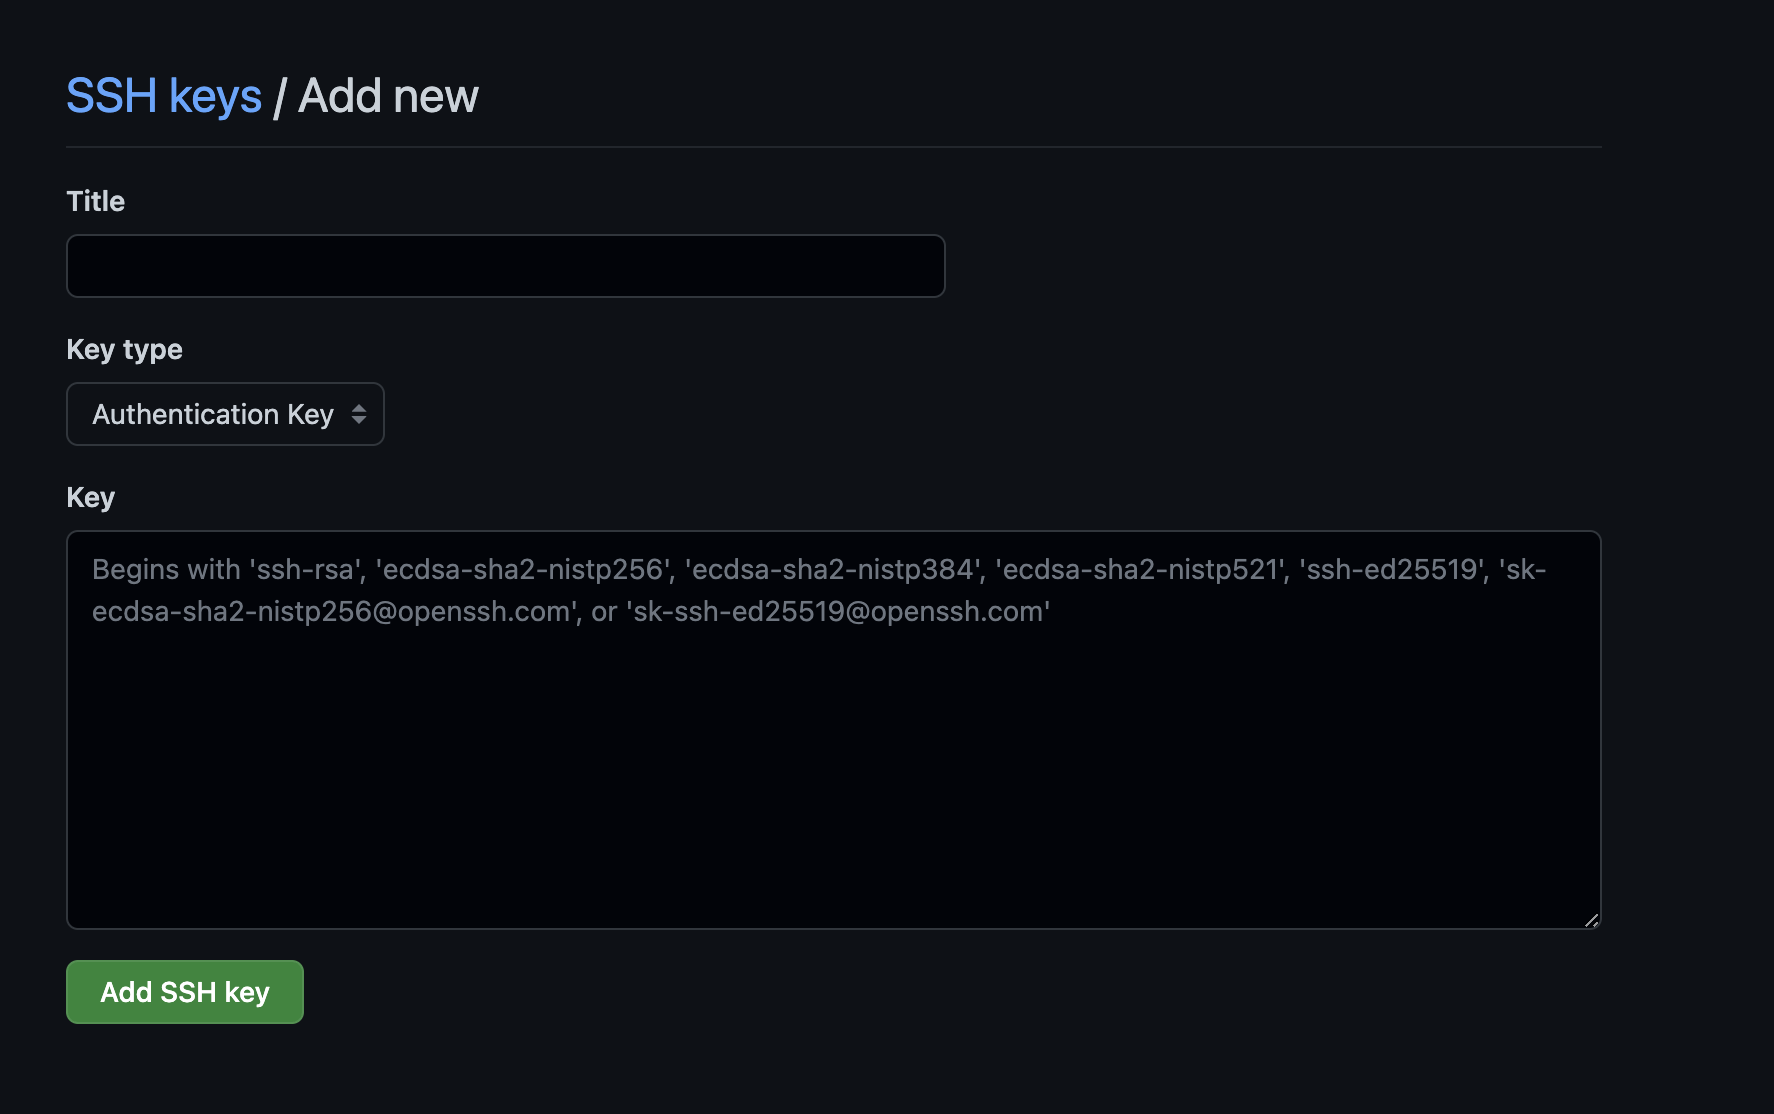
- Title: anything will do here, maybe a simple value to remind you of which computer your SSH key lives on.
- Key type: you must choose
Signing Key. - Key: paste the value of your SSH public key which you just copied to your clipboard.
Finally, click button Add SSH key at the bottom of the form to confirm the creation of your new Github signing key. After this step, all your commits will be signed using your SSH key, and Github will successfully verify your commits. In fact, I wrote this tutorial right after I finish adding my own signing key. You can try adding an empty commit to one of your own repository, push it to Github, and then check its verification.
$ git commit --allow-empty --message="Test SSH signing key"
Below are the examples of the unsigned and signed commits.
Unsigned commits

Signed commits
